

Often, our users do not scrape websites entirely, but take only specific pages, or do a search on the source site using a particular set of search terms. In consequent digger runs, this search terms set may change, and to make it work you need to change this set directly in the digger configuration. For some, this is not very convenient, because, without an understanding of the YAML format, the person editing the configuration can make a mistake and break the web scraper. Since Diggernaut can work with XLSX and CSV files as HTML pages, if they are available for download on the web, this could be a solution. However, not everyone has a server or just a website where they could upload an Excel file. Also, agree that it is not very convenient to upload a file to the server each time you make changes to it.
It’s much easier and faster to use Google Spreadsheets for this. And now we will tell you how to do it the right way.
First, you need to have an account with Google. If you still don’t have it for some reason, please register with Google. It will give you access to the Google Docs service.
Next, go to Google Spreadsheets and create a new table.
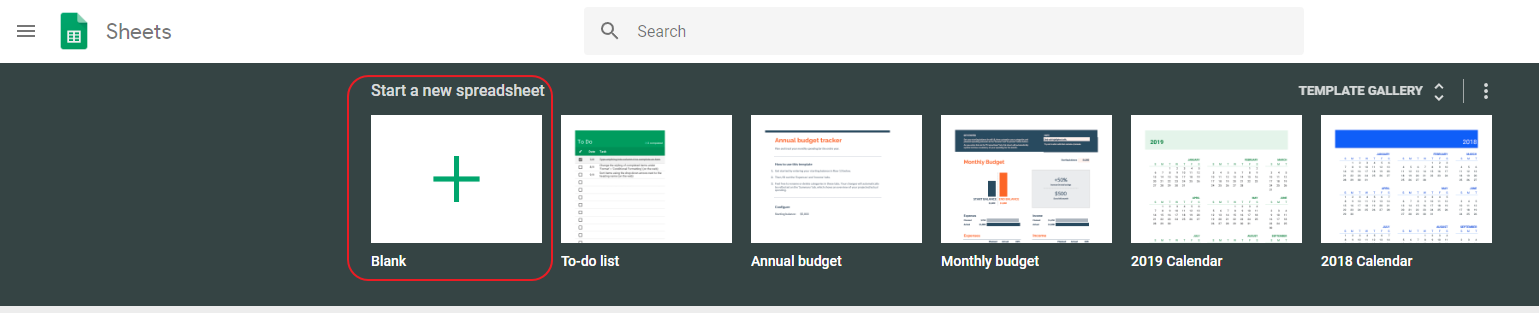
Let’s set the table name and enter data into it. We can add complex data to the table using many columns, and your web scraper can work with them. However, in this case, we will use only one column and add a list of product ASINs in the Amazon store. We could simply put there a list of URLs that need to be collected, but your scaper should work correctly with the data in the table, or, in other words, have the appropriate logic for a given data set.

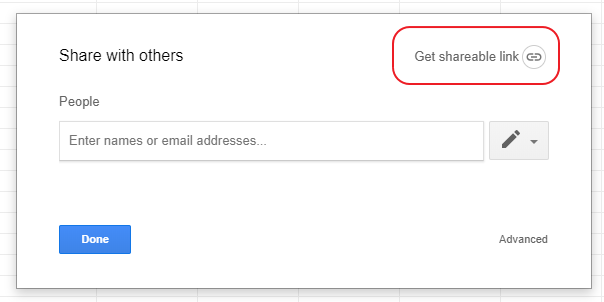
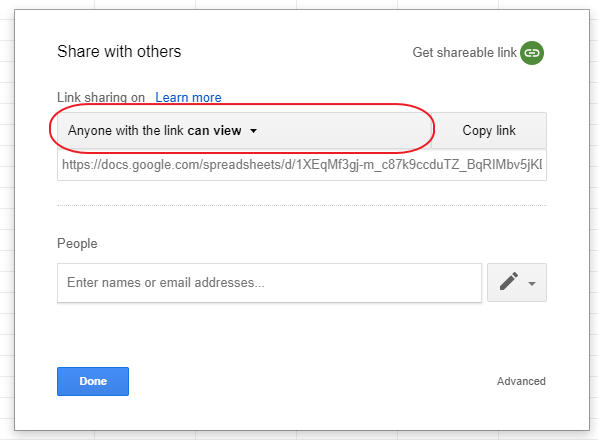
Now we need to set access to this document by the link for all without a login. To do it, click on the button:

And in 2 simple steps we will set up access for all who have the link:
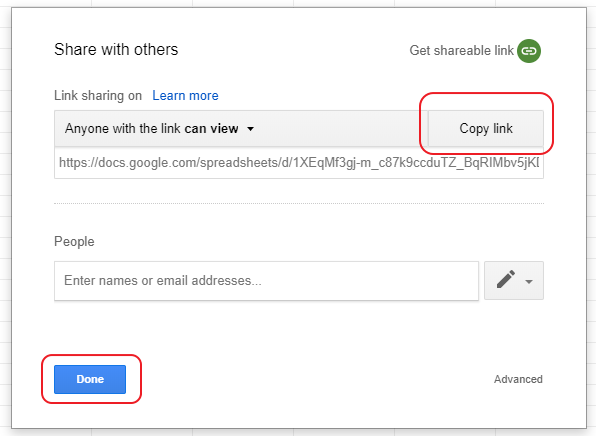
Then copy the link to the clipboard and click the button “Done”:
Now in our clipboard, there is a link to our Google Spreadsheet document. But you should not use it yet in your scraper, because we need an XLSX file. To do this, we need to extract the document ID from the link. We can do it effortless way. For example, our link looks like this: https://docs.google.com/spreadsheets/d/1XEqMf3gj-m_c87k9ccduTZ_BqRIMbv5jKDaESCXRTKY/edit?usp=sharing
A document ID is a long alphanumeric code between two slashes: 1XEqMf3gj-m_c87k9ccduTZ_BqRIMbv5jKDaESCXRTKY.
The download link for XSLX is formed in the following way: https://docs.google.com/spreadsheets/d/{%ID%}/export?Format=xlsx, where instead of {%ID%} you need to put our document ID. Thus, the link to our XLSX file will be: https://docs.google.com/spreadsheets/d/1XEqMf3gj-m_c87k9ccduTZ_BqRIMbv5jKDaESCXRTKY/export?Format=xlsx
This is the link we will use in our web scraper. Let’s see what structure XSLX file turn into when the scraper reads it:
---
config:
  agent: Firefox
  debug: 2
do:
- walk:
    to: https://docs.google.com/spreadsheets/d/1XEqMf3gj-m_c87k9ccduTZ_BqRIMbv5jKDaESCXRTKY/export?format=xlsx
    do:
Run digger in debug mode and look at its log. We can see that Diggernaut transforms the XLSX file into such structure:
B072Y5GS6M


B072Y3XTBG


B073V8L77H


B0737CVCCS


B072Y7TZGN


B0774BGXN9


B071GWLPLD
That is, we need to go to each row > column element, read the ASIN, and load the page for each ASIN from Amazon. Scrape it and save the data. As a result, your digger config might look like this:
---
config:
  agent: Firefox
  debug: 2
do:
- walk:
    to: https://docs.google.com/spreadsheets/d/19DJ1t3QbPK8ZKajUppAfZJjdZvl_8egK7rec8ctO_fs/export?format=xlsx
    do:
    - find:
        path: row > column
        do:
        - parse
        - walk:
            to: https://www.amazon.com/dp/
            headers:
                referer: ''
            do:
            # PUT HERE LOGIC FOR YOUR AMAZON PRODUCT PAGE SCRAPING
We hope that this article will help you save even more time when working with Diggernaut.